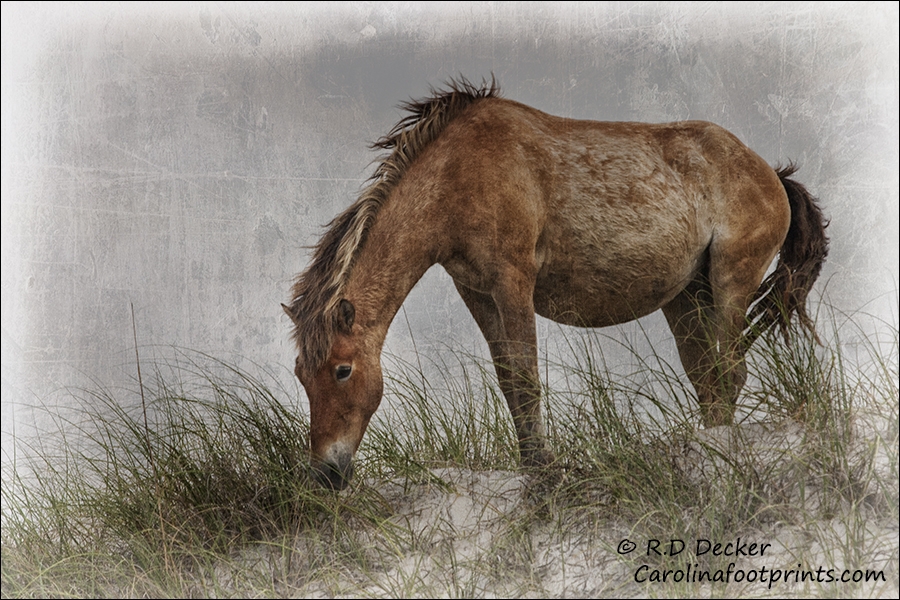
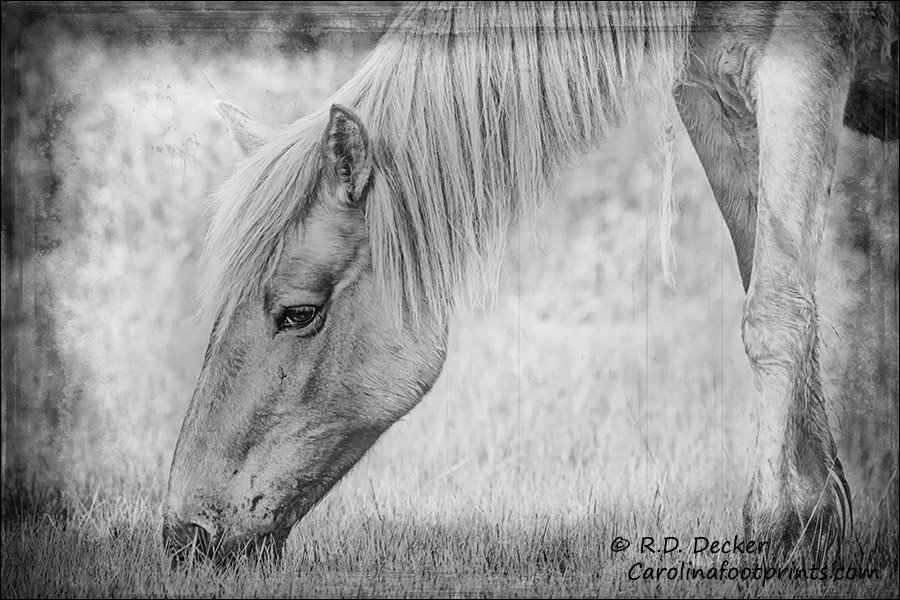
It’s not a new technique. Layering textures on photos has been around for a long time. It’s an interesting effect that can take a documentary style photo and turn into a piece of fine art. The process isn’t too difficult. You’ll need some kind of image processing software… Photo Shop, Elements, Paint Shop or others. The software needs to be capable of working with layers. Open the image you want to work with. You’ll then open an image of the texture you want to apply. (Choosing the right texture for an image is the real art to the entire process). Place the texture on top of your photo as a layer. Adjust the opacity of the texture layer so the photo below it shows through. Your taste, goals and artistic vision will play a role in how much opacity you want. You may want to use an eraser tool to reduce or remove the amount of texture over key areas of your subject such as the face, eyes, etc. Once you’re satisfied flatten the image. At this point I find the image usually lacks a bit of “pop”… seems a bit flat and boring. I like to create a duplicate layer and select a mode such as “soft light” or “overlay.” Then, if necessary I adjust the opacity of this layer as needed to get the look I want. It’s really that simple. Below are a few photos I worked up recently using the process described.